Sunday Goods

Moon Medicine.
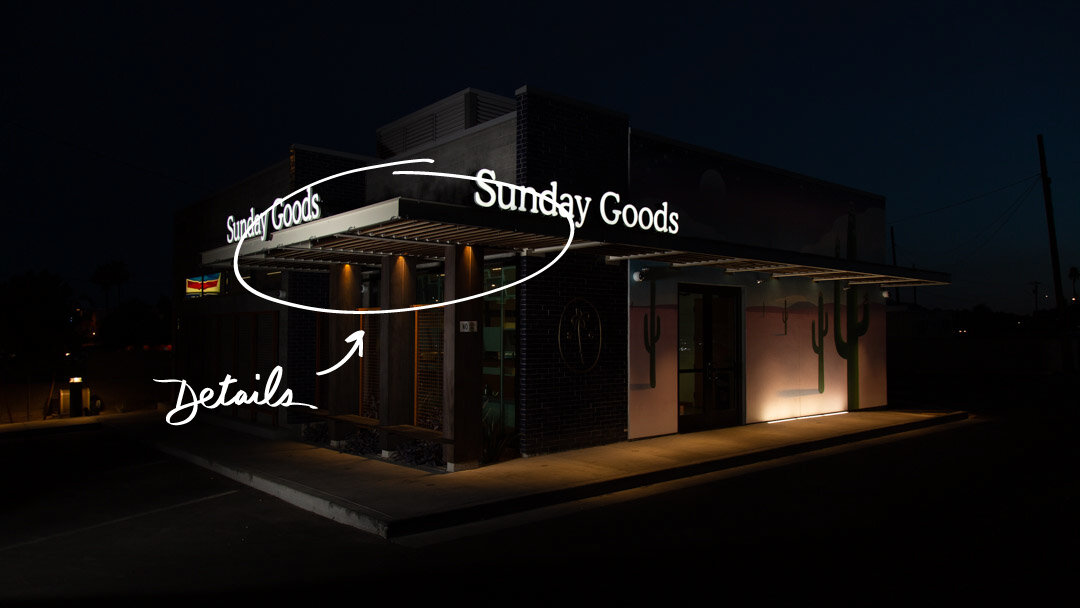
Is this not the sexiest dispensary? Named by Forbes as a “Paragon of Cannabis Culture,” Sunday goods is a medical marijuana dispensary in Phoenix, Arizona, and I got to capture some architectural and interior photography for their new location Downtown.
Composite Photography
Because the building is full of different textures, surfaces, shapes, and nooks and crannies, it’s not possible to expose for each element properly in a single shot. To really capture all that this building has to offer, I needed to capture multiple exposures for each part of the scene, and combine them all together to make what’s called a “composite” photo.
The shot.
The mural on the exterior of this building was painted by LA-based artist Maxwell McMaster, and it was an element we really wanted to capture for this picture.
With its magical desert moon, starry sky and twilight colors, I felt that a twilight setting would go along really well with those vibes. And so we showed up at 3:45am to prepare for a Blue Hour shoot.
First things first
Before any shooting is done, I compose the entire scene. Because we are taking multiple exposures with the intent of merging them together in post-production, it’s important to really nail this down before moving on. If the composition changes, the entire composite shooting process must start over.
Once the image is composed, I capture the average ambient exposure which will form the base for my composite image.
Expose for each element
Once my ambient shot has been captured using natural light, I study it to determine which parts of the building needs a little help, and how I need to light that part of the picture to make it happen.
I go around the entire building with an off-camera strobe on a wheeled light stand and start exposing for individual parts of the scene. Attached to my strobe is an uncovered 48” softbox to help focus the direction of light forward.
Post-processing
Editing this photo required both Adobe Lightroom and Photoshop. Lightroom was where I culled and organized the exposures I took, and it’s where I made all global adjustments to the composite.
The real magic happens in Photoshop, where I get to piece together all my different exposures from each part of the scene into a composite image that will bring the entire building to life.
Making the final image involved 17 total exposures, including the ambient shot which was used as the base of the composite.
I’ve grouped and renamed my exposures based on the part of the scene they belong to, which was key to staying organized when working with so many layers.
Finishing touches
With the composite was completed, it’s time to clean up the scene and polish the image to take it from good to great. Looking at the ambient exposure, there were a few distracting elements that needed to be removed, including unwanted signs, window glares, oil stains on the sidewalk, and pebbles and rocks on the pavement.
Once the scene was cleaned up in Photoshop, it’s back to Lightroom for a few last global adjustments to correct for lens distortion, fine-tune the image alignment, control for highlights, and bump a little contrast.


